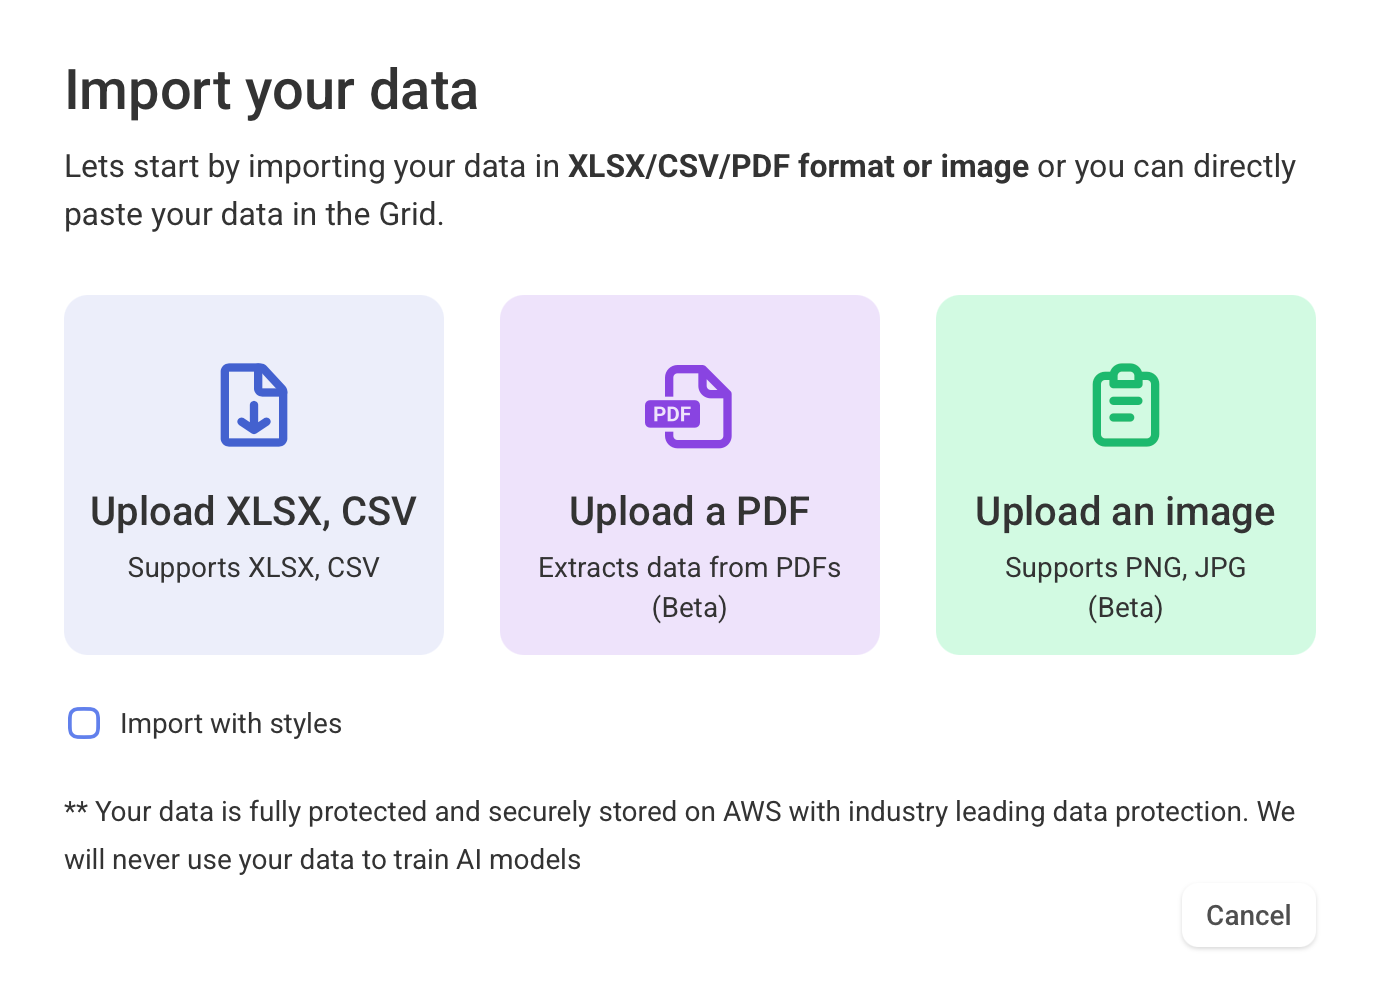
Supported File Types
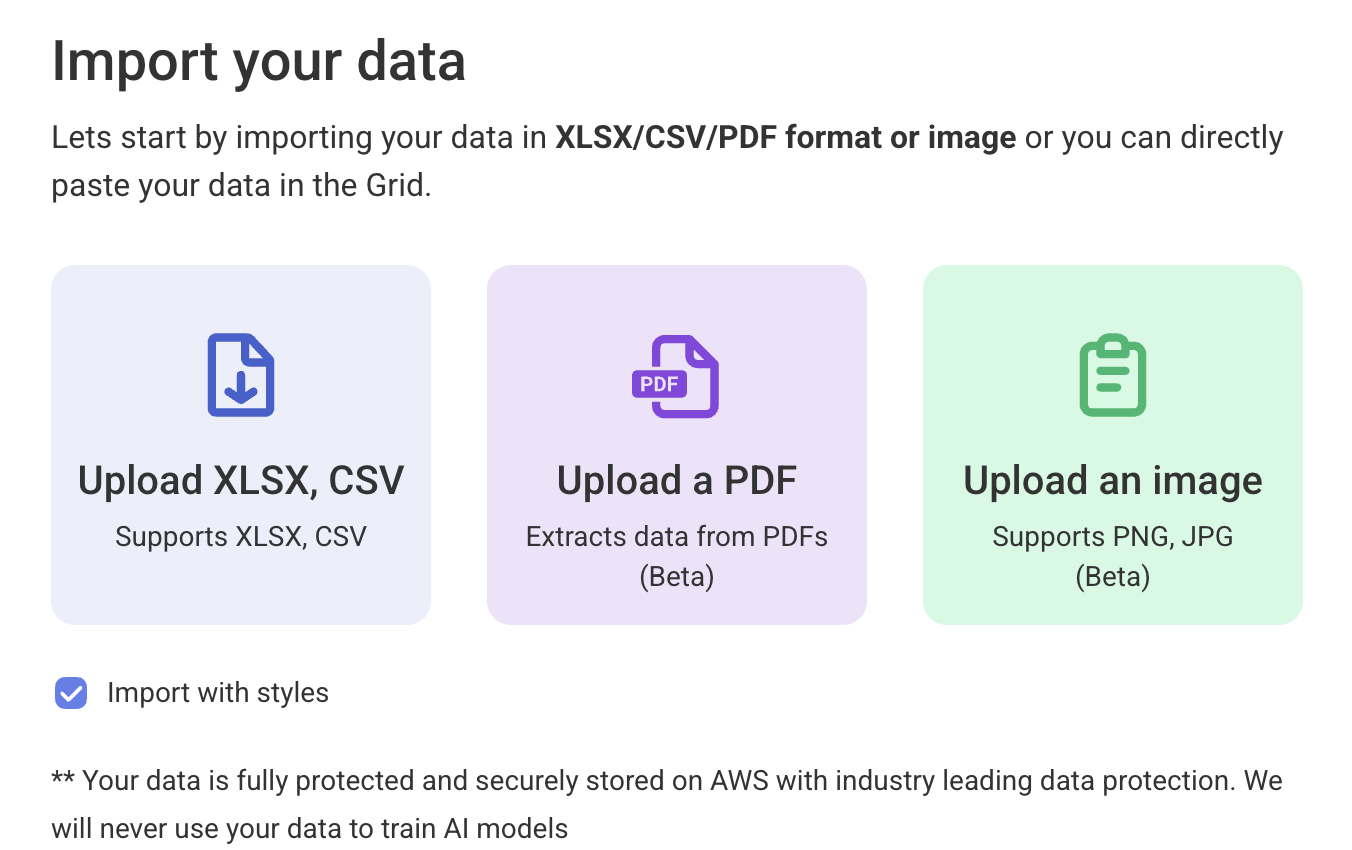
Bricks currently supports the following file formats for import:- Spreadsheets (
.xlsx,.csv) - PDF documents (
.pdf) - Images (
.png,.jpg)
Import Costs
Importing files into Bricks may use AI credits, depending on the file type:- XLSX & CSV: Free (no AI credits required)
- PDF: Costs 1 AI credit per page
- Images (PNG, JPG): Costs 1 AI credit per image
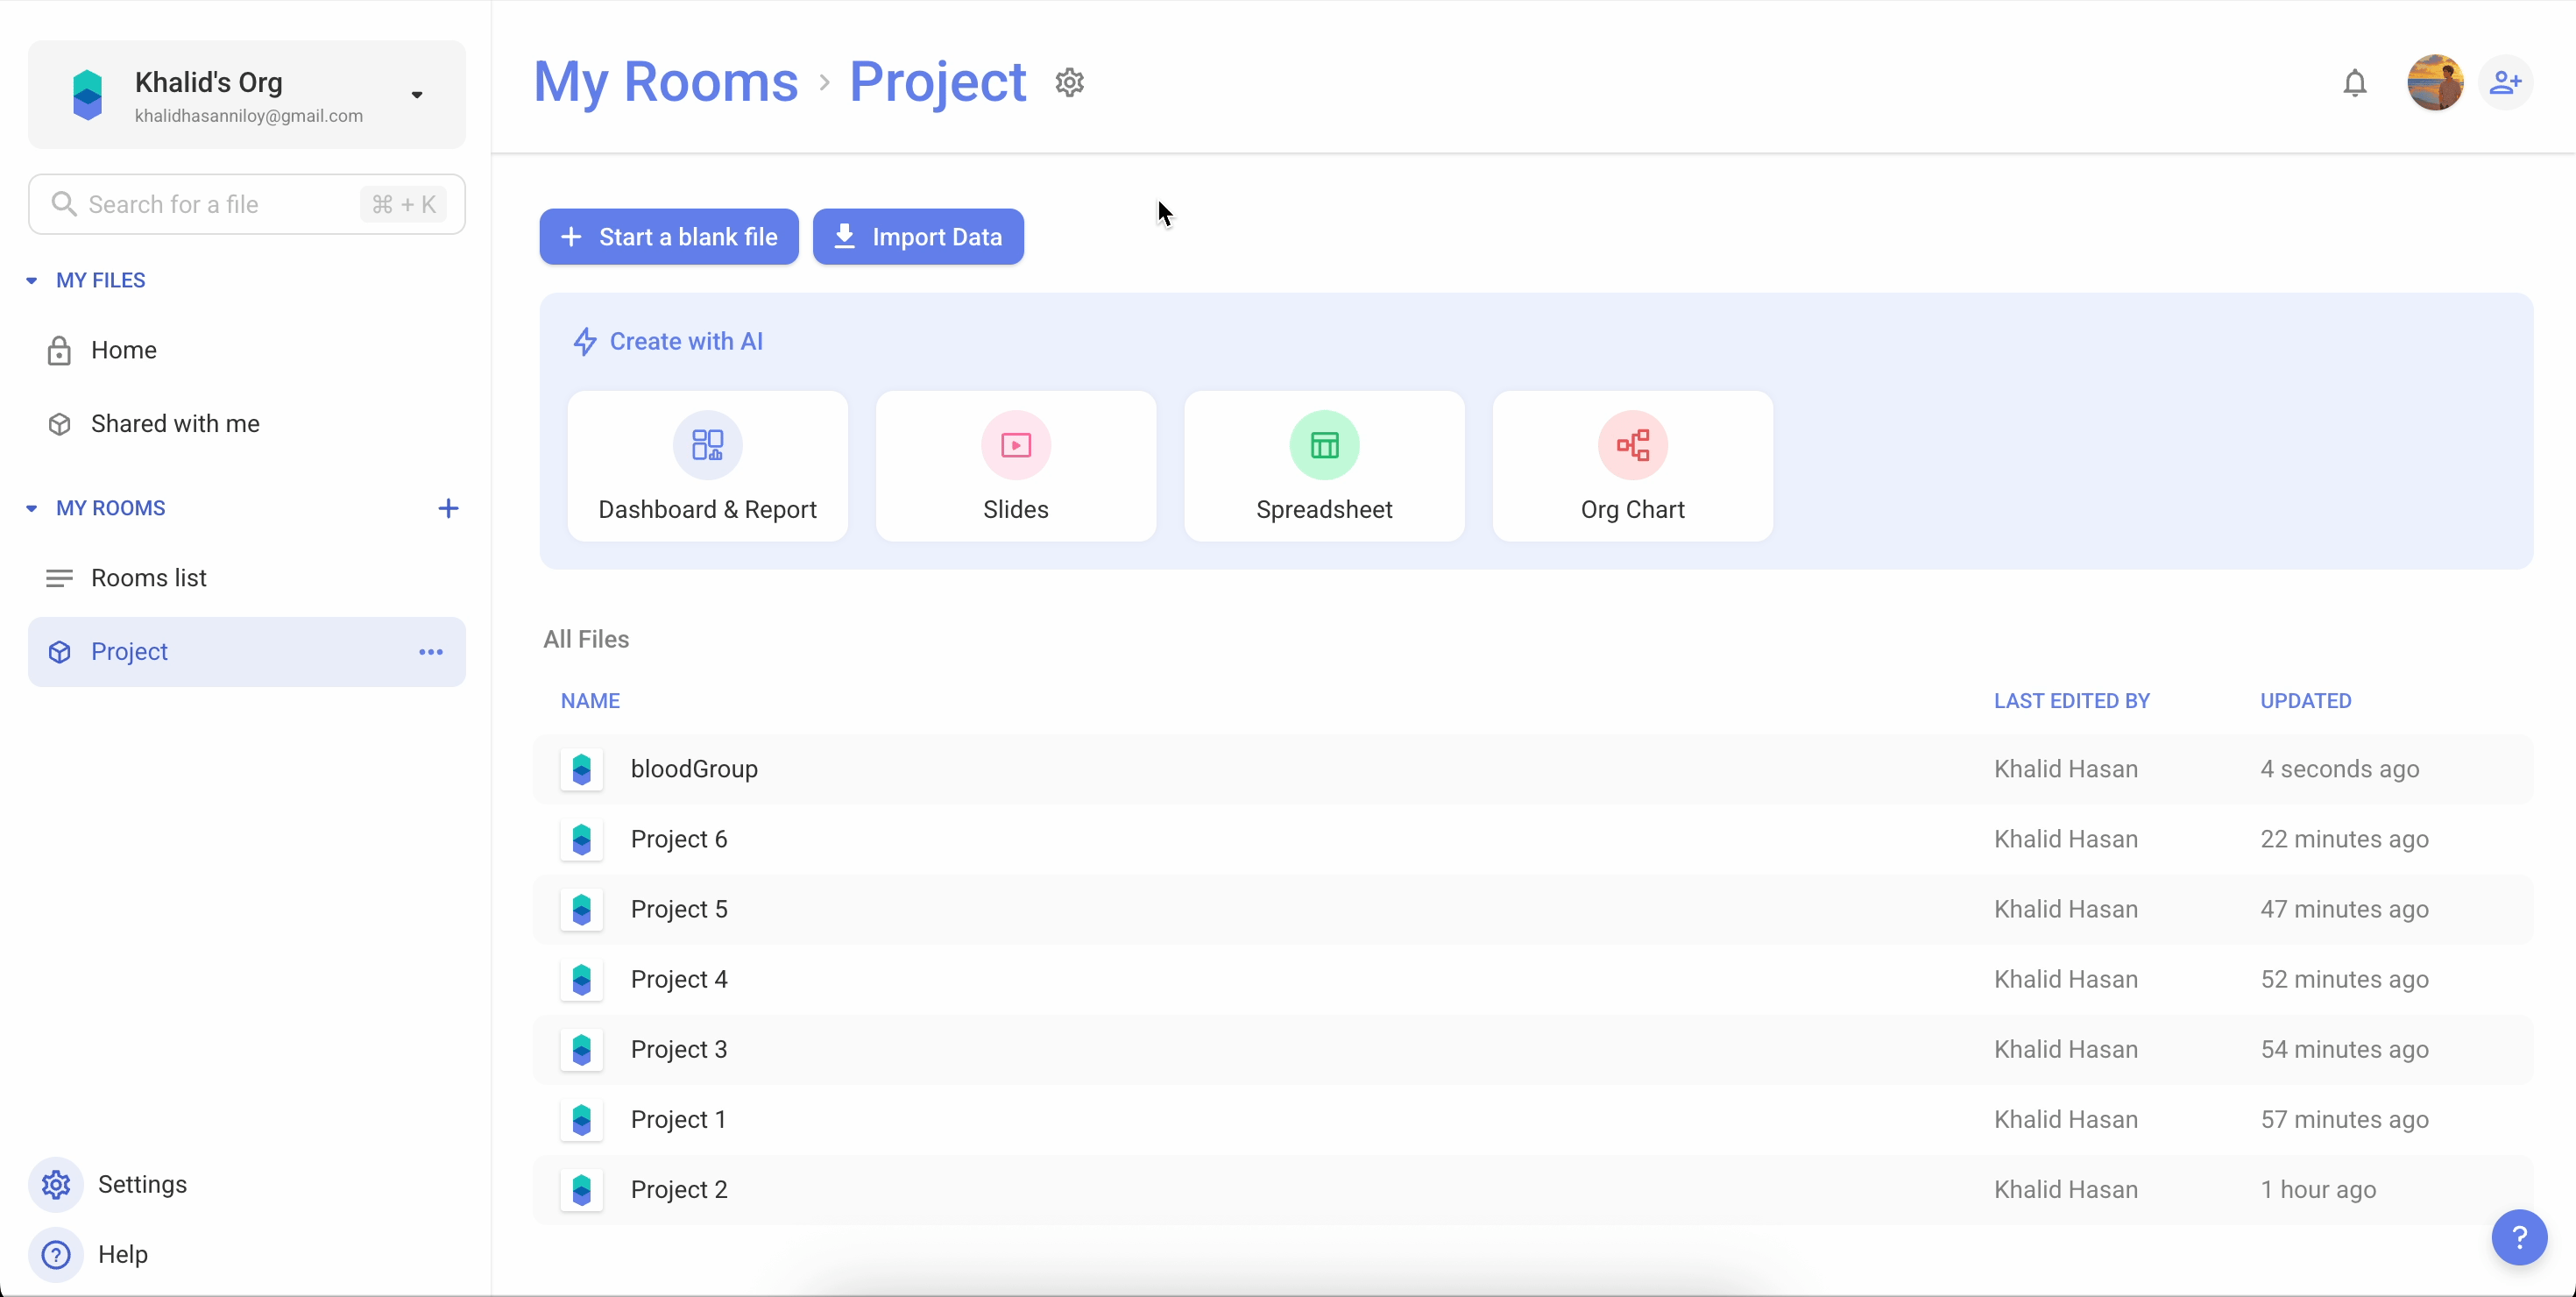
How to Import
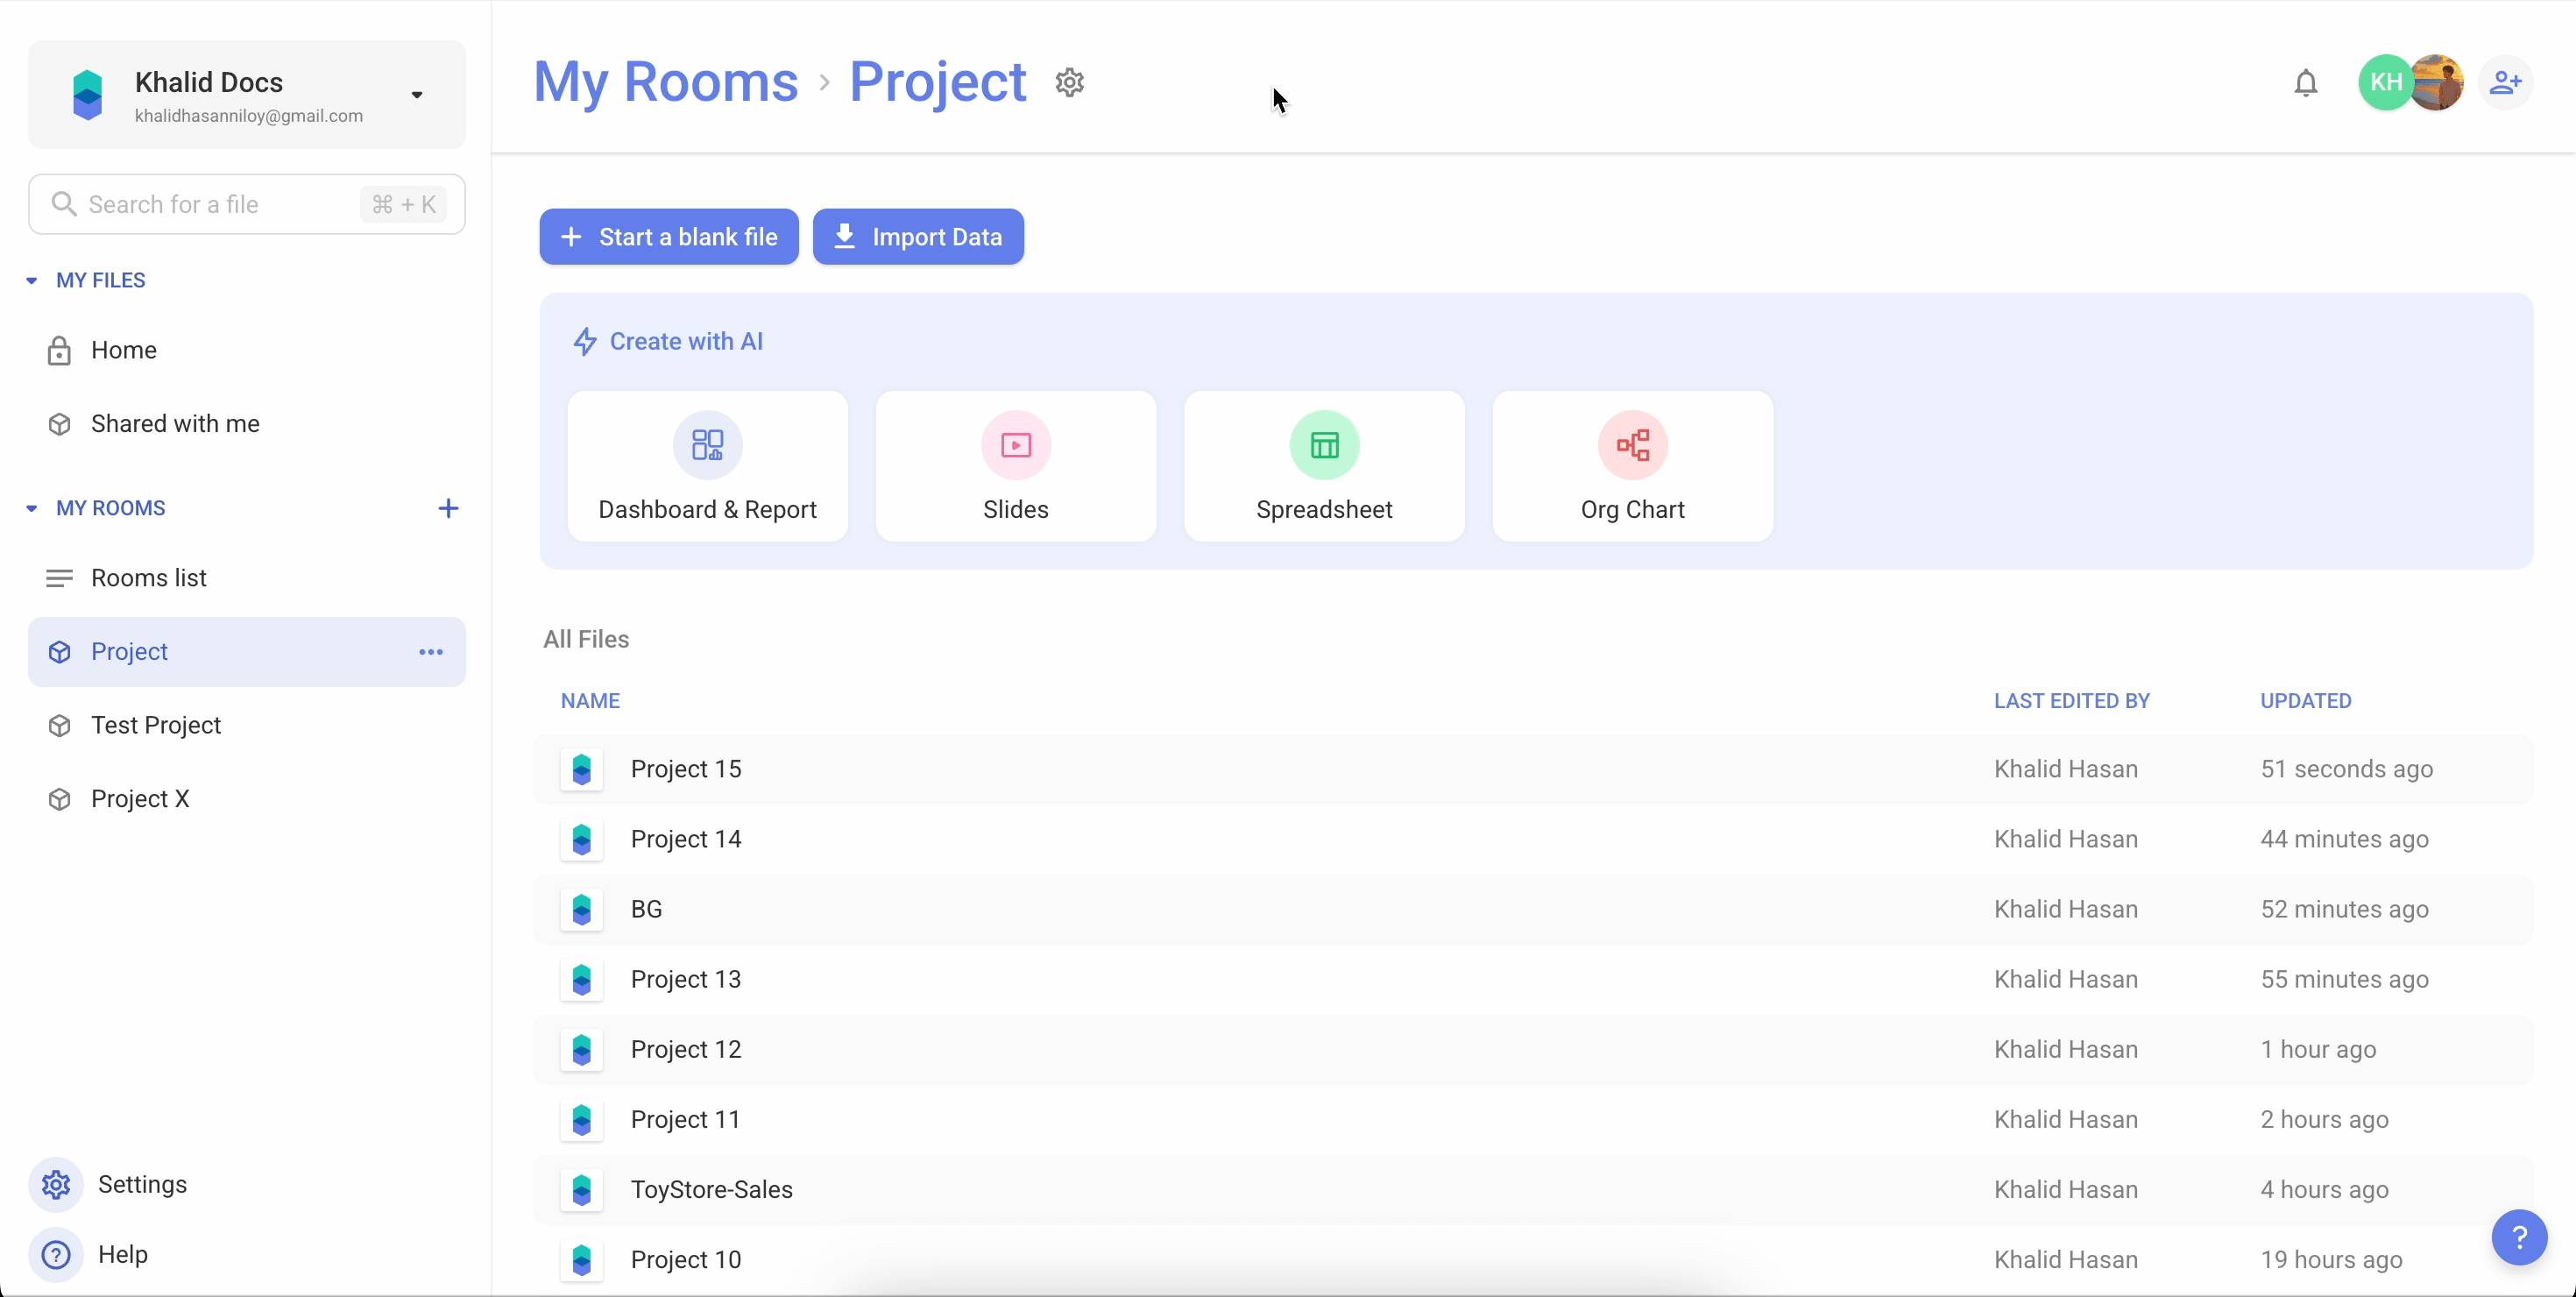
Importing files into Bricks is quick and easy. You can bring in data from the Home screen, from inside a file, or even via AI prompts — with options to retain formatting or merge into existing files.From Home Screen
- Go to the Home screen.
- Click the Import Data button.
- Select the import format.
- Select import file from your device.
- A new Bricks file will be created from your imported content in your active room.
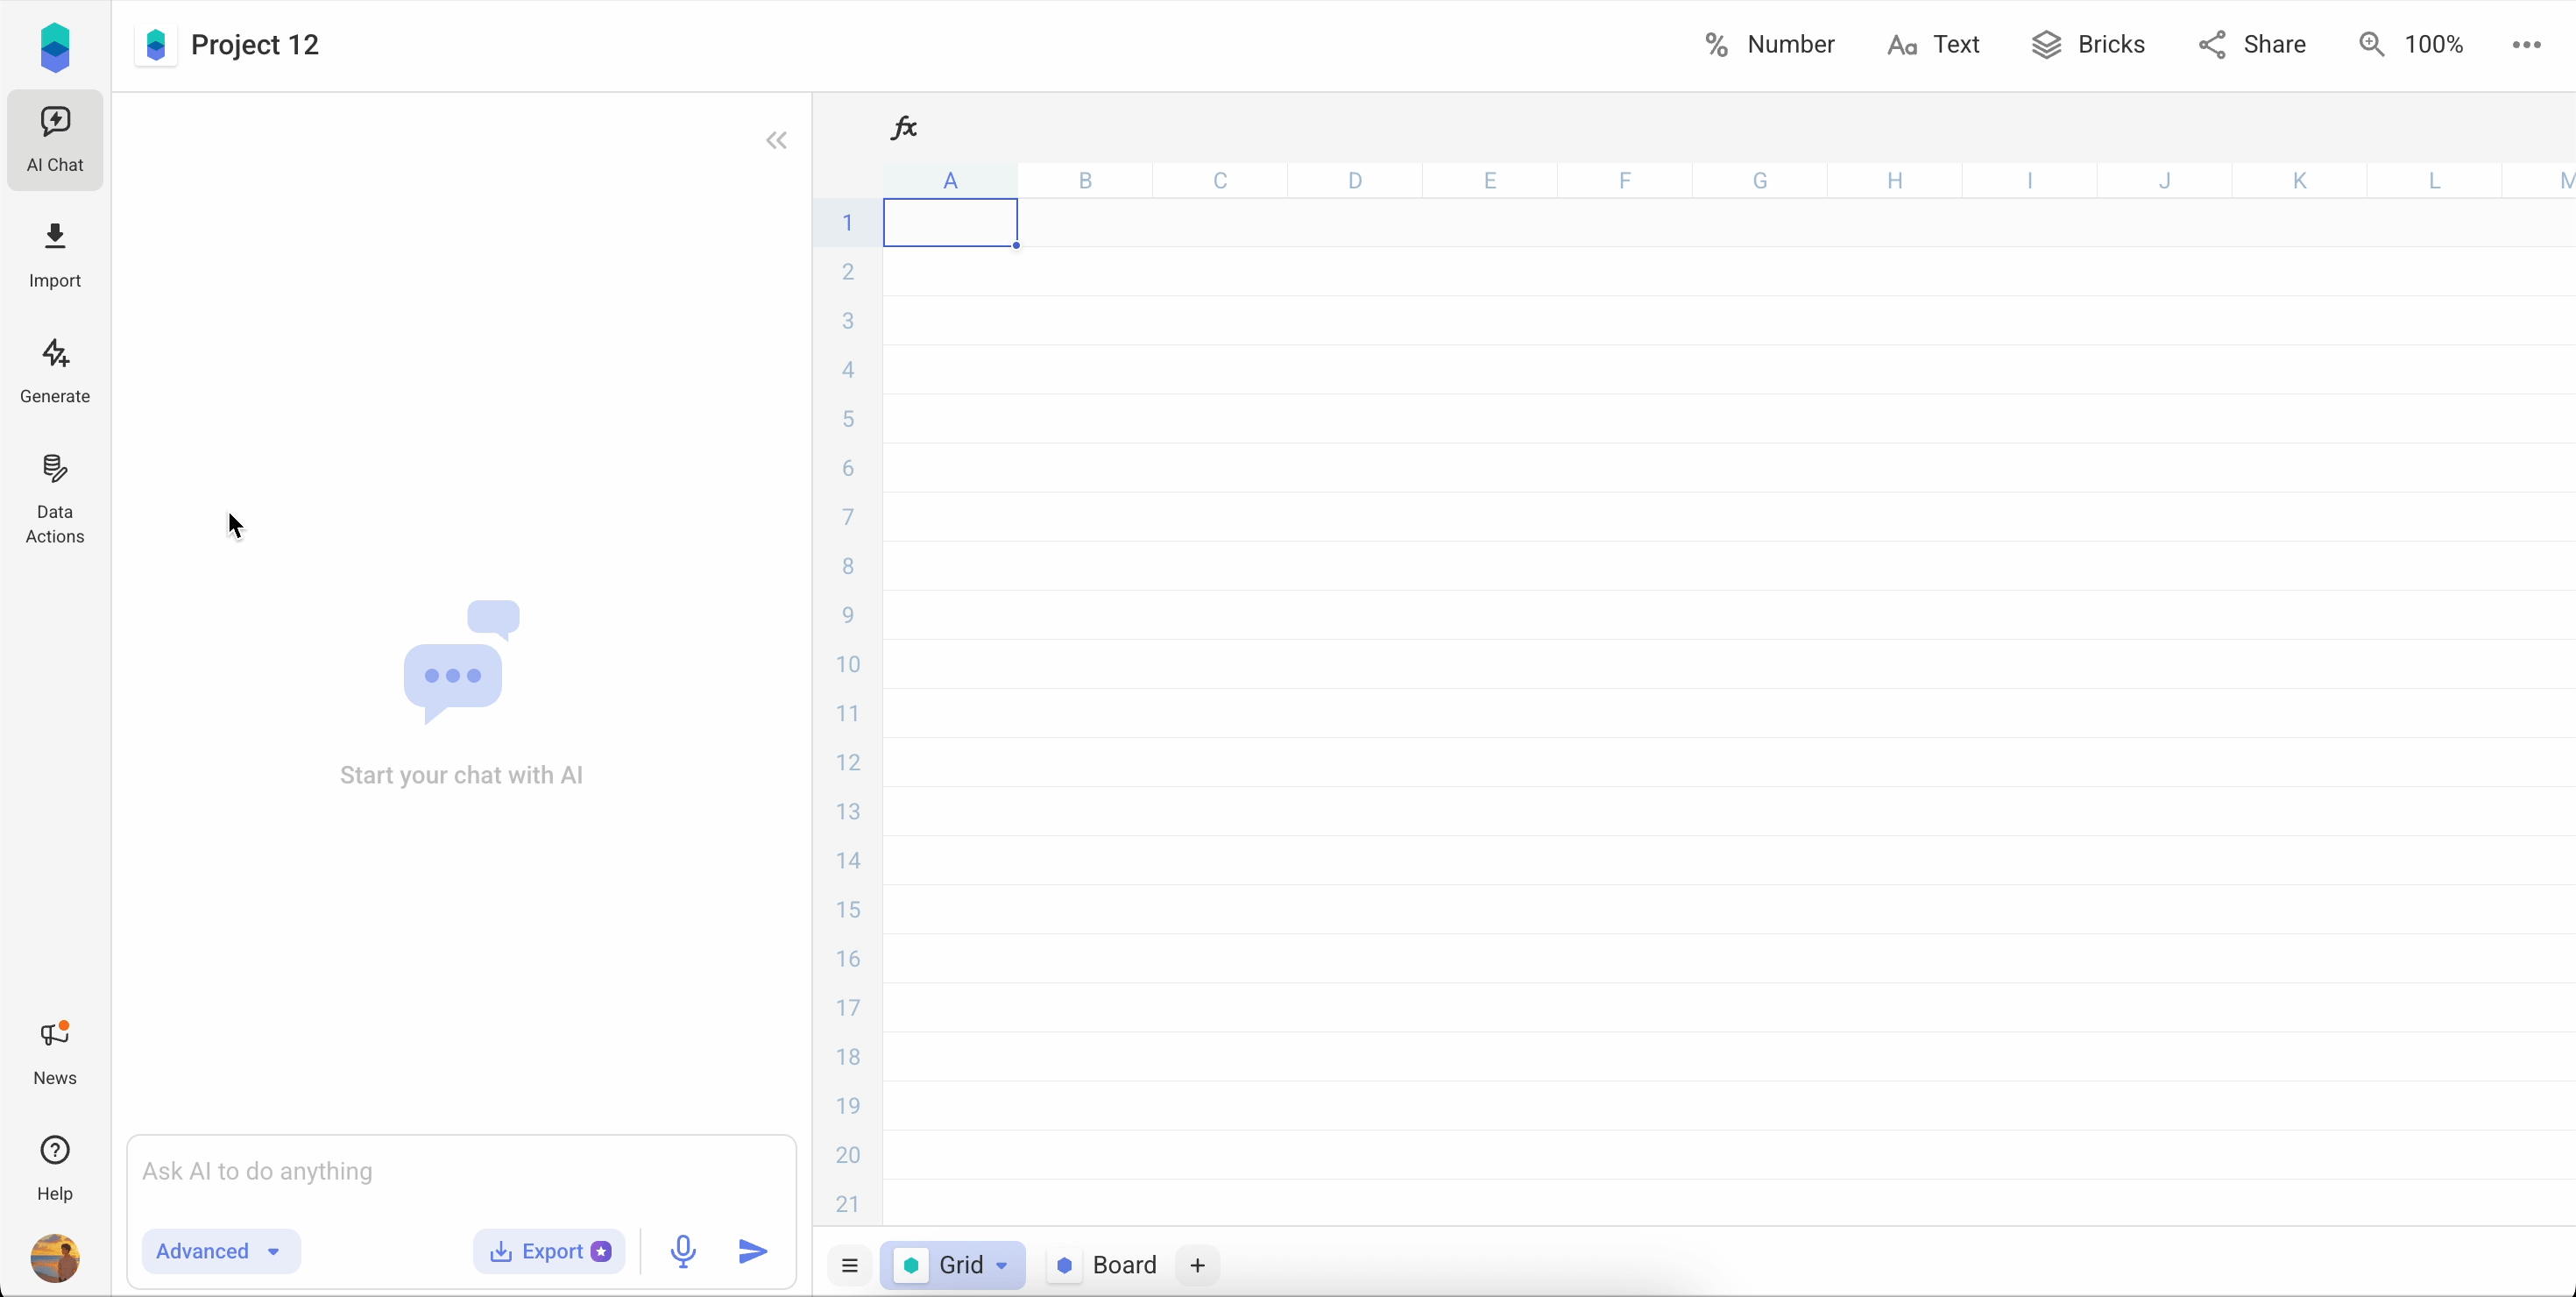
From Inside a Bricks File
- Open any Bricks file.
- Click Import from left navigation panel.
- Select the import format.
- Select import file from your device.
- A new Bricks file will be created from your imported content.
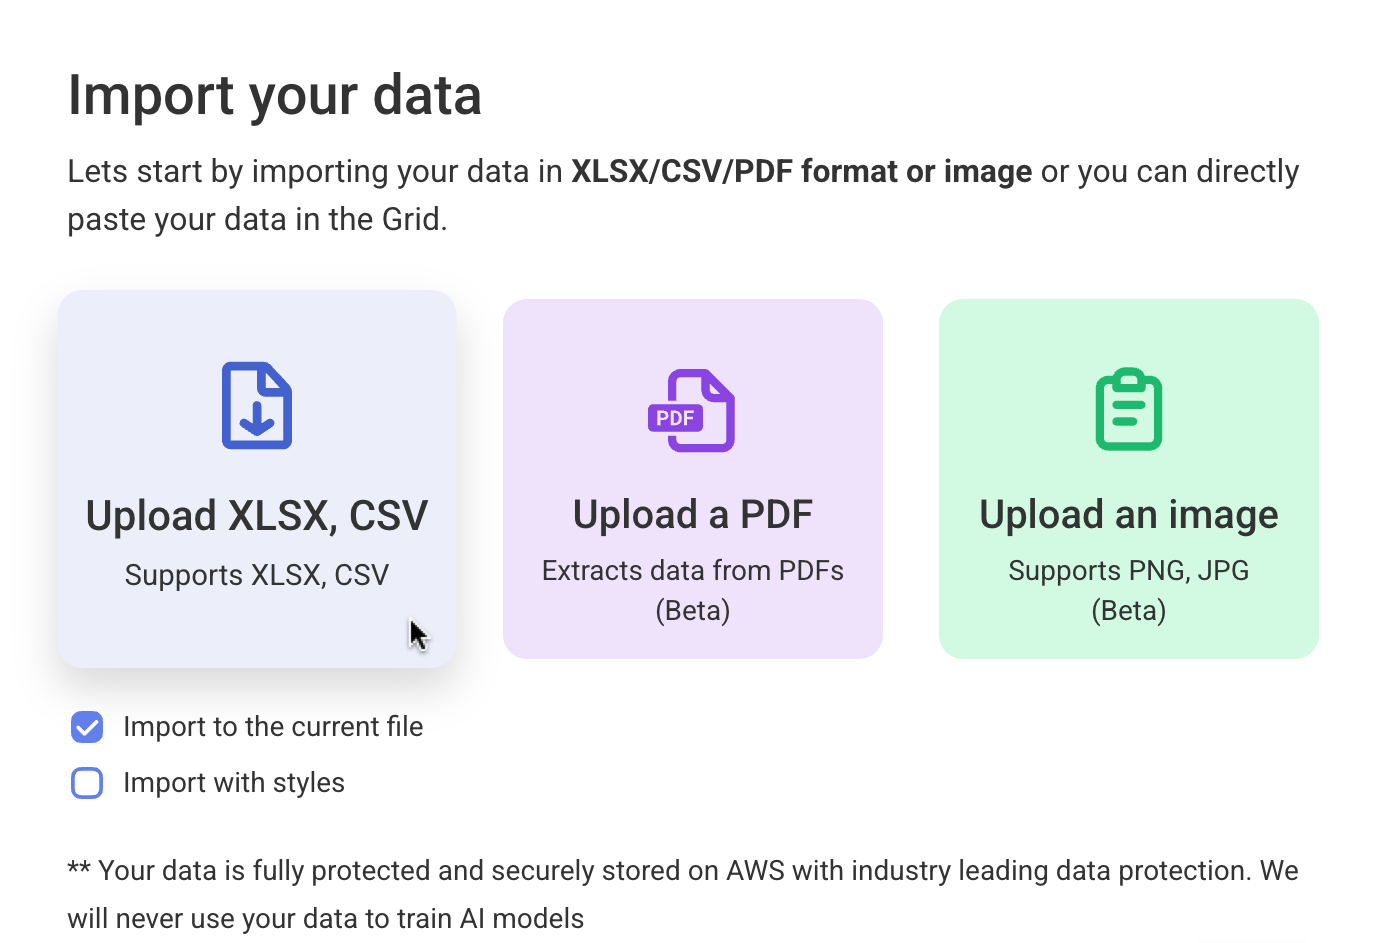
- Check Import to current file to merge the file into the currently open Bricks file. It will be selected by default.
- Check Import with styles to retain original xlsx formatting (fonts, borders, formatting etc.)
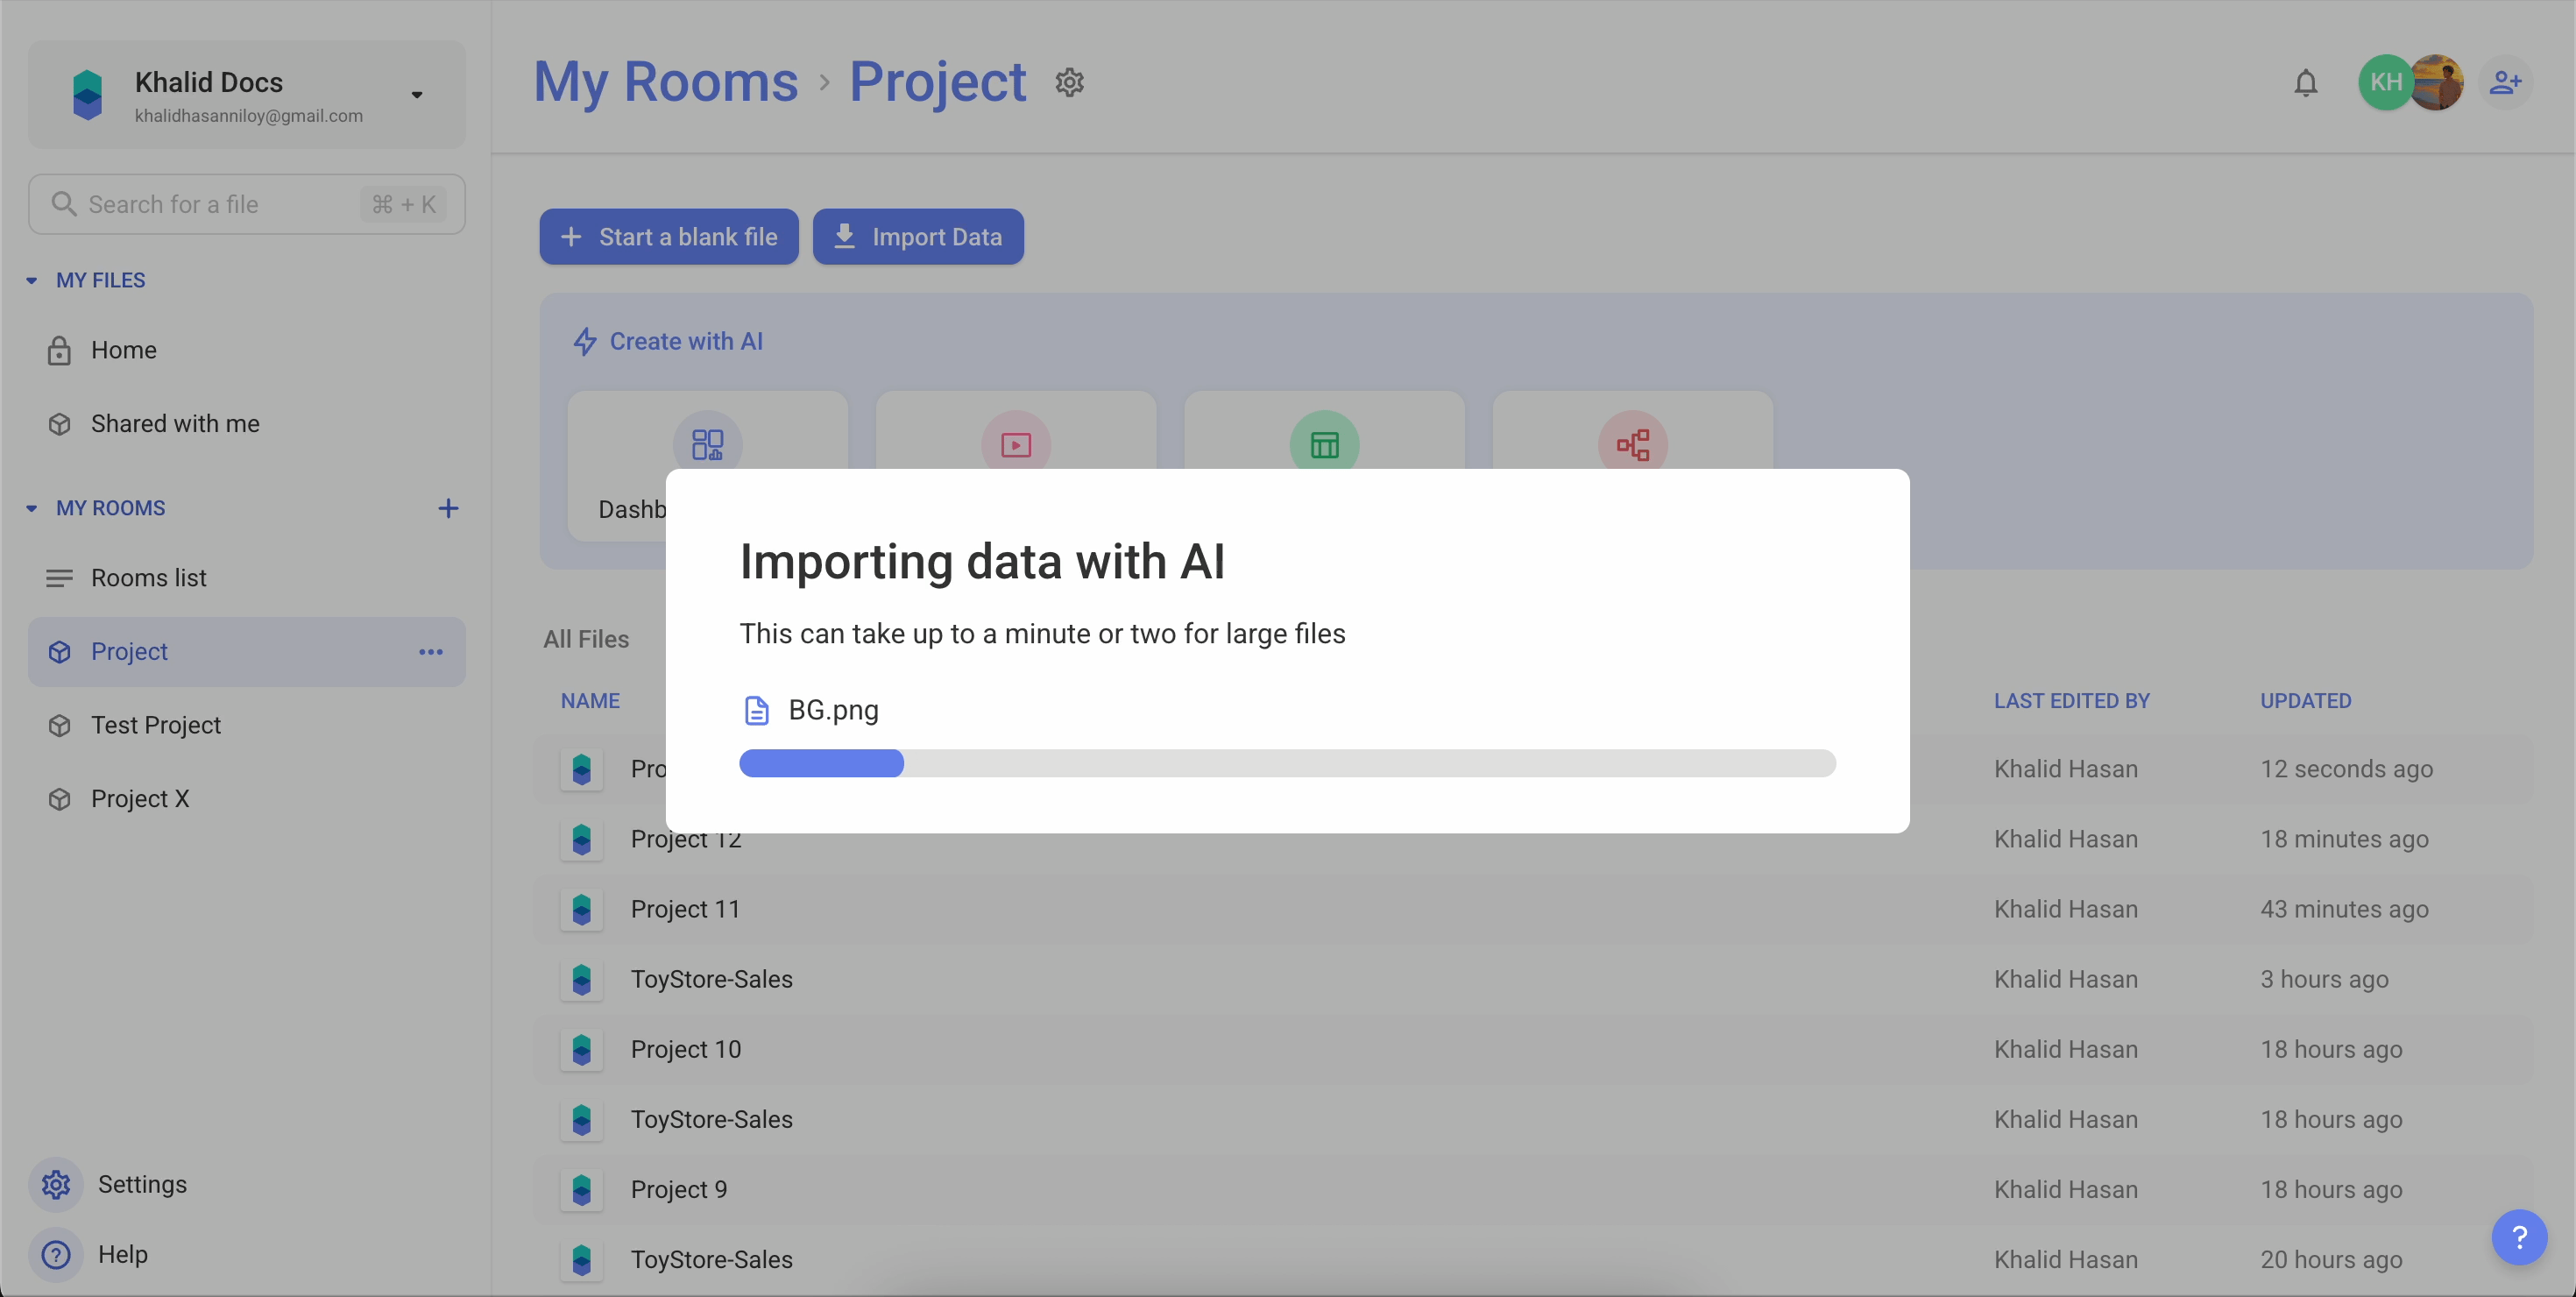
You can select only one file at a time while importing. Also, file size must be under 25MB and upto 100K rows.
Import With AI Prompt
You can also ask AI to import a file by entering a prompt in the AI Chat. AI will open the import window for you. As simple as that. Example prompt:
Import with Styles
To import.xlsx files with existing styles, make sure that the Import with styles checkbox is checked before selecting the import file.
This preserves formatting such as:
- Cell borders and colors
- Fonts and sizes
- Text formatting
- Conditional formattings, formulas
This is especially useful for
.xlsx files. .csv files don’t support styling as they contain raw data only.Import to Current File
When importing from inside a Bricks file, you can choose to import content directly to the current file by checking Import to current file. This is ideal when combining multiple sources into a single Bricks document.- Open the target Bricks file.
- Click Import from left navigation panel.
- Select Import to current file if not already checked (and optionally, Import with style).
- Select the import format.
- Select import file from your device.
- This option is only available while importing from within a file—and selected by default.
- If you do not select Import to current file, a new file will be created inside your room with the imported data.
Import Multiple Files into Single File
Bricks allows you to import multiple external files into a single Bricks document. To add multiple files into the same Bricks file:You just need to repeat the steps for each file and keep Import to current file checked.
- Open the target Bricks file.
- Click Import from left navigation panel.
- For each file, select Import to current file if not already checked.
- Select the import format.
- Select a file from your device.
Import Multi-Sheet Data
When creating dashboards from the Home screen, Bricks allows you to import Excel (.xlsx) files containing multiple sheets. You can select which sheets to include in your dashboard, giving you precise control over the data you want to visualize.- Go to the Home screen.
- Click Dashboard & Report from Create with AI section.
- Select Import a file.
- Choose your file from your device.
- In the new window, Bricks displays all sheets/pages from the imported file. Select the sheets you want to include in your dashboard.
- Click Generate Dashboard — Bricks will create a dashboard using the selected sheets.
This option is only available when creating dashboards from the Home screen. Each sheet must have structured tabular data for dashboard creation.
What Happens After Import
After a file is imported, if your data is already structured in a tabular format and no issue is detected, Bricks will display the new file.If the data is not in a tabular format or contains issues, Bricks automatically analyzes the content using AI to detect tables and structured data.
Table Detection
- AI scans the file to identify data tables.
- If there are issues with range, headers, or data formatting, Bricks will surface those so you can fix them before proceeding.
Confirm and Continue
- Once you verify and confirm the detected tables, Bricks finalizes the import and launches the creation flow.
AI Creation Flow
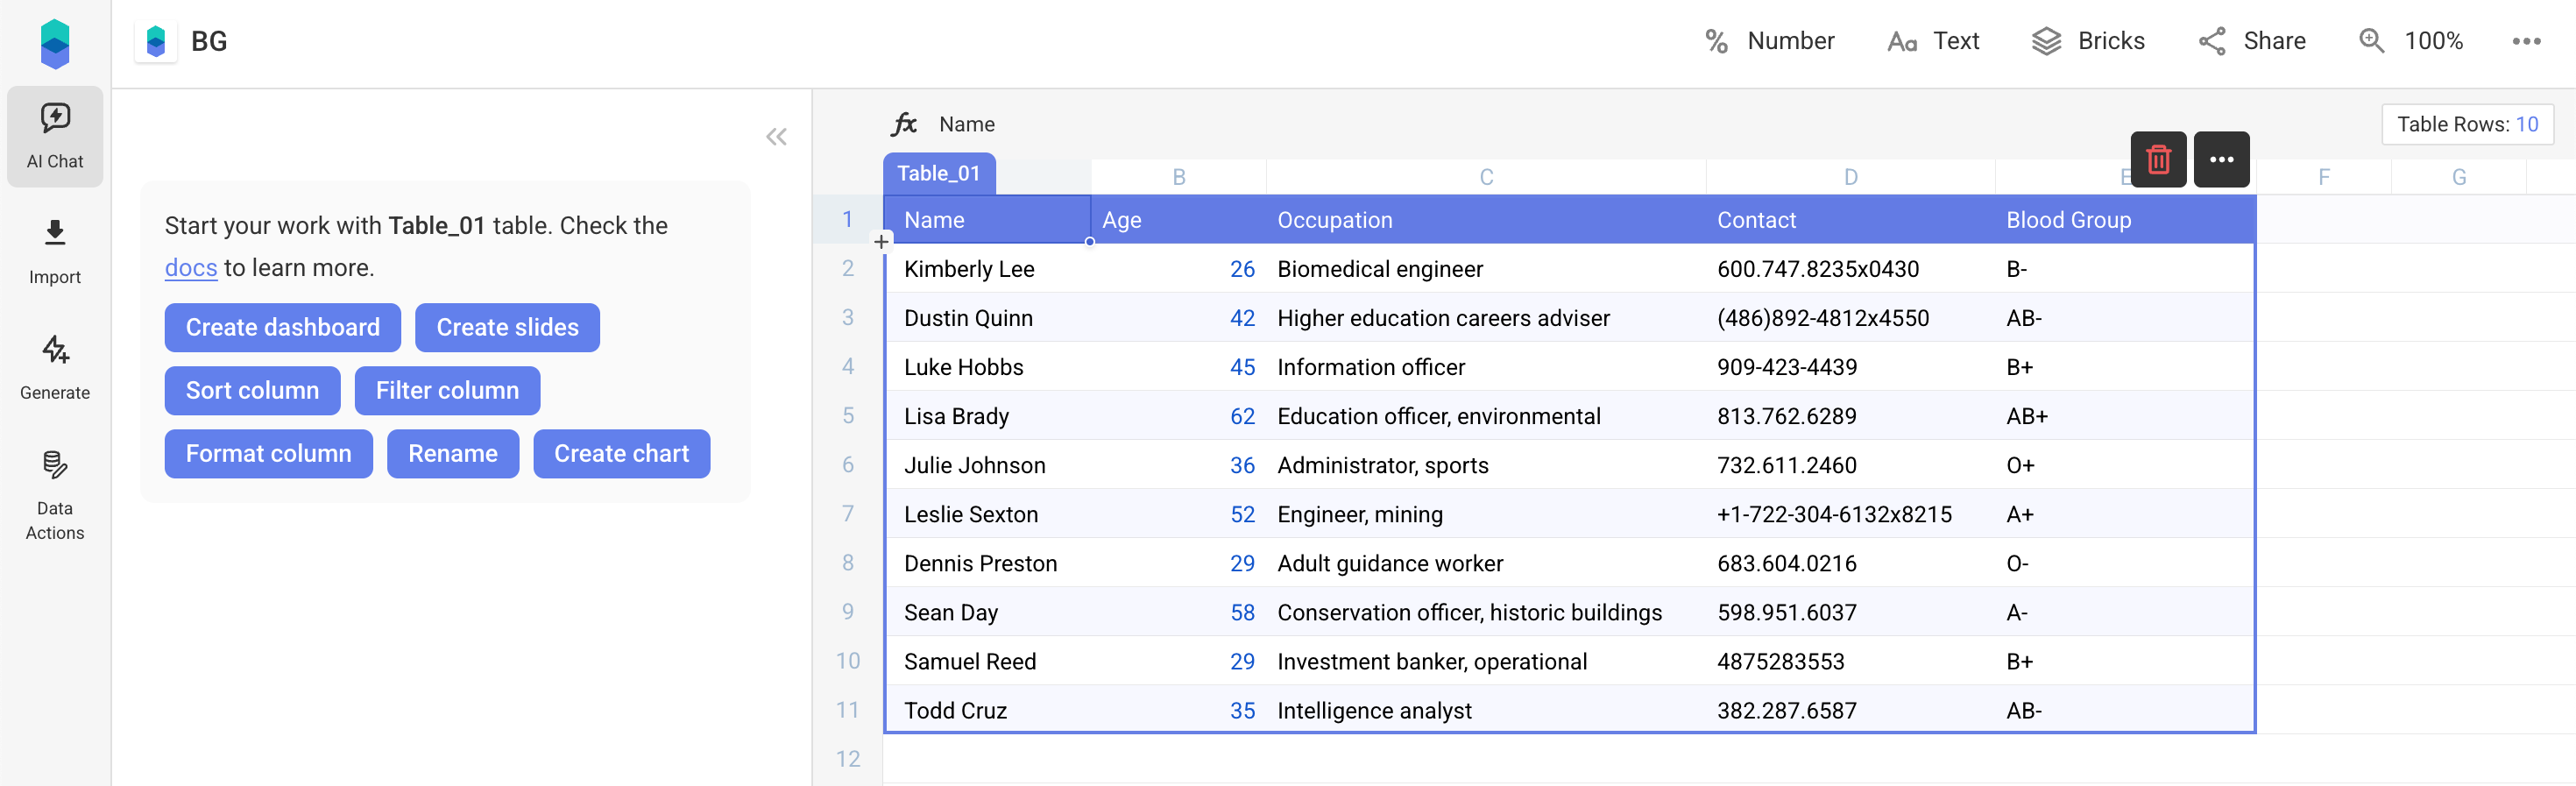
Bricks opens up a set of AI-powered tools after importing files. You can take immediate actions like:- Create Dashboard: Instantly generate a dashboard (One-Click Dashboard) from your data using AI.
- Create slides: Quickly turn imported data into a presentation deck.
- Sort Columns: Sort data by any column.
- Filter Columns: Apply filters to focus on specific rows with AI prompts.
- Format Columns: Adjust number formats, currency, dates, and more.
- Rename Columns: Update headers for clarity with the help of AI.
- Create Charts: Build bar, line, pie, and other charts directly from your tables.
Need Help?
For assistance with importing or troubleshooting data:- Use the in-app support chat: Help > Start a conversation
- Join our Discord Community
- Or email support@thebricks.com